Sunday, November 27, 2011

DIY 15' X 30" shed completed in 3 days. Alpaca sunning area is a big hit.

With winter approaching the completion of the DIY Alpaca shed is such a relief.  The beginning of day 3 found me at Metalmart to pick up the metal for the new shed.  The cost of the metal came to around $1200.00. 

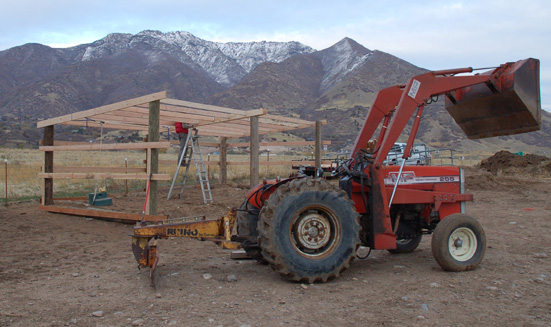
 The metal for the shed didn't look like much but it was all there.


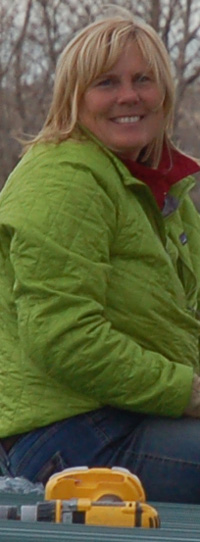
It helps to have cheap labor, who will basically work for free.
The one bad thing about cheap labor is that it is sometimes slow and your projects take longer to complete. The shed was completed way past dark. lol


Shed, roof and walls completed way past dark.  Now we need to finish the trim and we are good to go.

Having a farm in our environment can be such a challenge.  Every animal that we own must have good shelter that protects them from the wind and extreme cold.  The result of our location means the expenses of our infrastructure are higher than most farms.  We believe that in the end our farm will be something special that will give back to the community. 

Development of any kind in this economy is an uphill battle.  When you are responsible for the well being of your farm animals, you sometimes have no choice but to spend money.  What makes it hard is that people are not eager to spend their money for your goods.   The economic balance on the farm depends on money coming in and money going out.  Right now it seems that its all going out, with not much coming in. 

My next big challenge is to come up with some really creative ideas to make money.  

I am thinking FIBER.  hummmmmmm.

Thursday, November 17, 2011

DIY three sided shed for our alpacas

This week is crazy!  We have the opportunity to agist (board) 15 alpacas at the farm.  The only catch is, that we need one more shelter.  You cannot get away with weak or thrown together shelters here at the mouth of Weber Canyon.  We only have 4 days to complete this shelter before a big storm is suppose to hit and the new alpacas arrive.  The alpacas love these 3 sided sheds.  They are open to the South and get lots of sun all winter.  Utah has more sunny days than almost anywhere else in the country.  So we like to take advantage of that fact.

Day one 3' holes to set used electric poles into.  And the beginning of framing.  Working with used electric poles saves tons of money.  Recycling or re-purposing poles is a big money saver and makes environmental sense.  All the lumber for framing of this shed came to $403.00.
Smile working under pressure is tons of fun!!!!!


View of one of the completed sheds.  The new shed can be seen in the background.
Day two frame work completed.

The end of day 2 framed shed 15' X 30' plus fill to elevate the floor.
Day three cross you fingers with any luck the next post will have pictures of a completed shed.

Beautiful end to day 2.

Great DIY chicken coop for winter

One of the winter chicken coops is completed.  The roosters seem to love it.  The Chicken coop sun room seems to be a big hit.

First I made the coop with a vinyl floor.  Clean up is a snap.
Second I made the coop easy to move with the bucket of our tractor.  The space under the coop has green house panels and makes a sun room on Utah's many sunny days.


Third I needed to provide wind protection, so the chicken coop sun room is enclosed on three sides open only on the west.  Most of our wind is from the canyon to the east so there is good protect.

The second coop will be roosting space for the chickens and a sun room.  Stay tuned and check it out.